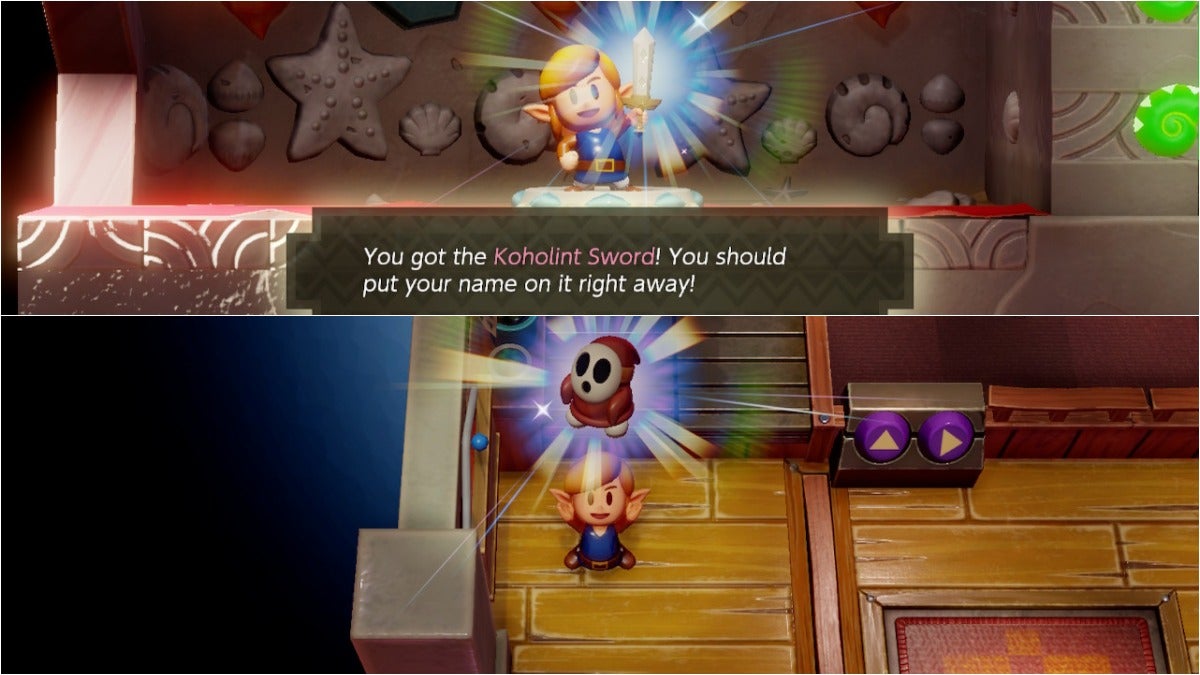
Now’s the best time to gather up all those upgrades and collectibles you’ve yet to find. There’s a lot to see and do in The Legend of Zelda: Link’s Awakening. Each optional task you perform on Koholint Island will reward you in various ways.
Table Of Contents
Round-Up Breakdown
Since there are things to see and do all over Koholint Island, it can be a bit tricky to keep track of them all. Below is a list of everything you can do to round up every collectible and upgrade in the game:
- Get the remaining fishing rewards from Mabe Village
- Win as many Trendy Game Figures as you can in Mabe Village
- Clear the Color Dungeon
- Get all the collectibles from Dampé’s dungeon arranging mini-game
- Find the remaining Heart Pieces
- Find the remaining Secret Seashells
Every Fishing Reward You Can Get From Mabe Village
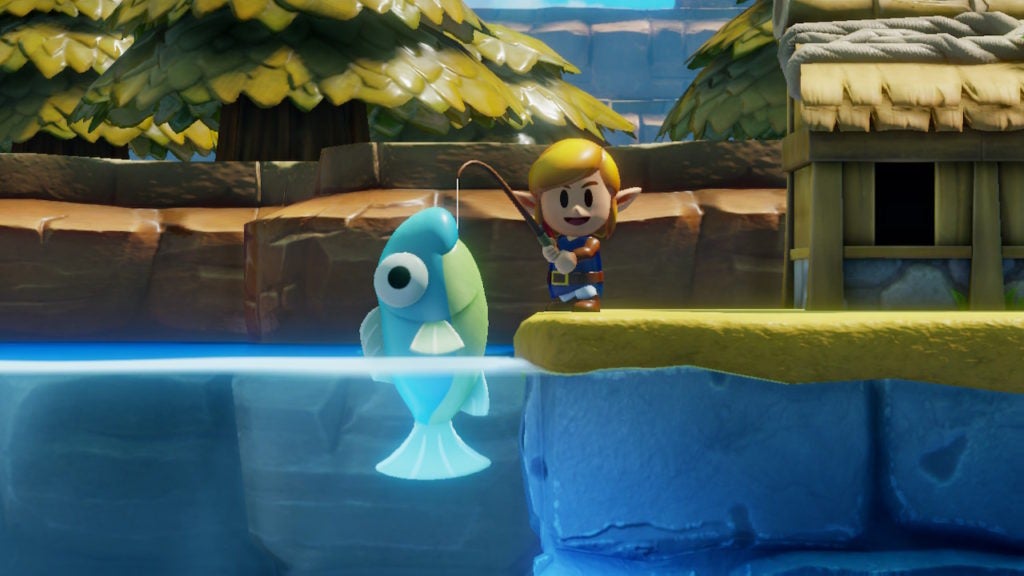
In addition to greater and greater Rupee rewards (depending on fish size), you can get collectibles and better lures while fishing in Mabe Village. Furthermore, the fishing mechanic is quite fun and satisfying—for the most part. Here are all the possible collectibles you can find while fishing in Mabe Village:
- Fairy Bottle (1)
 Note
Note - Heart Pieces (2)
- Secret Seashells (2)
- Middleweight Lure (1)
- Heavyweight Lure (1)
- Chamber Stone (1)
It can be a bit tricky to find out which fish gives you what rewards, so here’s a list of every kind of fish and what rewards they give you with the first-time-only rewards in bold text:
- Little Fish – 10 to 15 Rupees and 1 Heart Piece
- Big Fish – 20 to 30 Rupees, the Middleweight Lure, and 1 Heart Piece
- Cheep Cheep – 30 to 40 Rupees and 1 Secret Seashell
- Blooper – 45 to 55 Rupees, the Heavyweight Lure, and 1 Secret Seashell
- Ol’ Baron – 100 Rupees and 1 Chamber Stone
Every Figure That You Can Win at Trendy Game
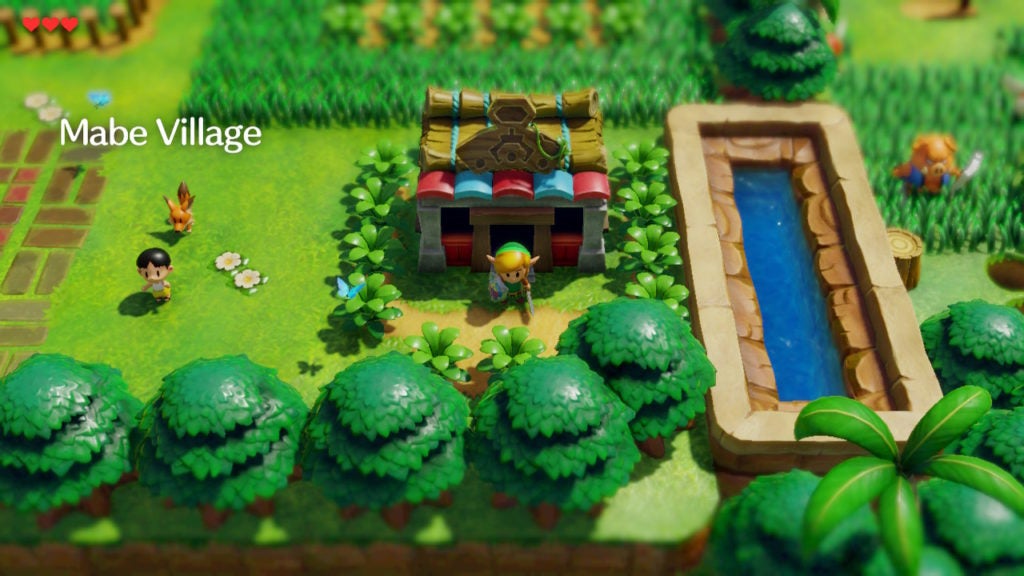
Trendy Game is a very important location, so get familiar with it! You can find 2 Heart Pieces and 2 Secret Seashells here. Furthermore, the initial item you need for the trading quest (the Yoshi Doll) is also found here.
On top of that, the aesthetic-only collectibles known as Figures can also be acquired at Trendy Game. However, you can only get 9 of the 10 Figures throughout your first playthrough of Link’s Awakening. The 10th and final Figure will only appear in Trendy Game after you beat the game. All you have to do after you beat the game is load the save file with the cleared game data and the final Figure will appear the next time you go into Trendy Game.
Another thing you should keep in mind is that you can only carry 1 Figure at a time. If you have any Figure in your inventory, it will always occupy the same slot. This will prevent you from carrying more than 1 at a time. As such, new Figures won’t spawn in Trendy Game until you place the Figure that you are currently carrying.
The first Figure only spawns after you collect the Yoshi Doll. After that, you can collect the first 9 of them. Here’s every Figure you can get from Trendy Game (and where they go) in the order in which they spawn:
- CiaoCiao Figure (Madame MeowMeow’s House)
- Goomba Figure (Marin’s House)
- Spiny Figure (Mamasha and Papahl’s House)
- Boo Figure (Mamasha and Papahl’s House)
- Cheep Cheep Figure (Old Man Ulrira’s House)
- Blooper Figure (Old Man Ulrira’s House)
- Shy Guy Figure (Mamasha and Papahl’s House)
- Piranha Plant Figure (Marin’s House)
- Pokey Figure (Mamasha and Papahl’s House)
- BowWow Figure (Madame MeowMeow’s House) [only available after beating the game]
Locate and Clear the Color Dungeon to Get the Tunic Upgrade
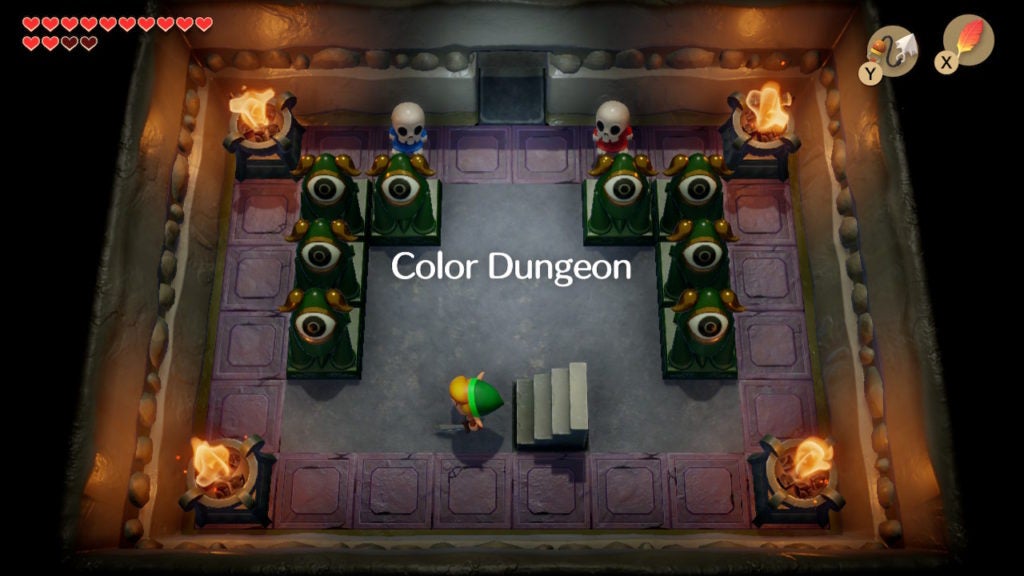
The Color Dungeon is an optional dungeon that you can easily miss. To find its location, you’ll first need to go to Mabe Village’s Library. Within, you’ll need to use the Pegasus Boots to run full-speed into the back shelf to knock down a book.
When you read this book, it will give you a hint on how to find the Color Dungeon. Specifically, it gives you a sequence that you will need to follow to solve a puzzle elsewhere. This puzzle is located in the Cemetery just south of the Tabahl Wasteland.
In the Cemetery’s southeast corner, you’ll need to move the 5 tombstones there in the sequence the book hint mentioned. Afterward, a staircase will appear that will lead you to the entrance of the Color Dungeon.
Here, you’ll have to deal with many multi-colored threats and defeat a unique boss to get this dungeon’s greatest treasure: a Tunic upgrade. When you’ve cleared the Color Dungeon, you’ll get a choice between upgrading your Tunic into a Blue Tunic or a Red Tunic. The Blue Tunic will halve the damage you take while the Red Tunic will double your damage output.
Fun Fact About the Color Dungeon
All the puzzles and enemies in the Color Dungeon, as you might expect, are very color-oriented. As such, this is one of the most vibrant dungeons in the game. While this may not seem that special by today’s standards, this was actually a really big deal for the older versions of Link’s Awakening.
Originally released on the mono-colored GameBoy in 1993, The Legend of Zelda: Link’s Awakening was re-released as The Legend of Zelda: Link’s Awakening DX in 1998 on the GameBoy Color. One of the new features for the GameBoy Color version was the addition of the Color Dungeon. This optional dungeon was added specifically to show off the GameBoy Color’s fancy new colorful graphics.
Complete Most of the Dungeon Arranging Levels to Get Many Collectibles
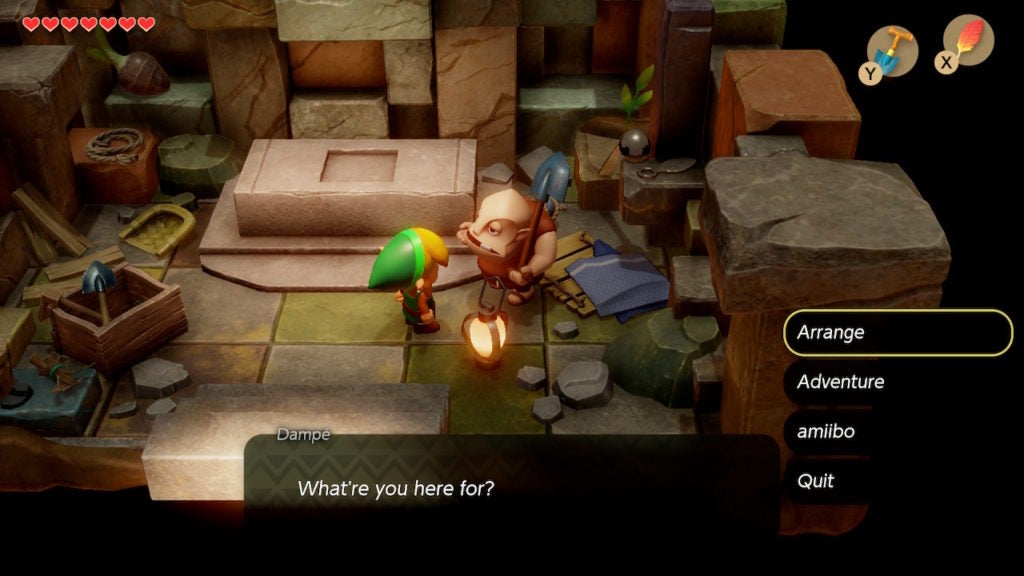
There are many levels that you’ll need to clear to get all of the collectibles from Dampé’s Shack. Overall, there are 5 main ones that you want to get:
- Heart Pieces (2)
- Secret Seashell (1)
- Fairy Bottle (1)
- Heart Container (1)
To get each of the above-mentioned collectibles, you’ll have to clear through multiple challenges. These challenges will increase in difficulty and will require much more specific dungeon arranging. There are levels after you get the Heart Container, however, all challenges after this point won’t give you collectibles.
Fun Facts About Dampé’s Shack and Dungeon Arranging
Like the Color Dungeon, Dampé’s Shack was not in the original Link’s Awakening. In fact, it wasn’t even in the GameBoy Color’s “DX” version or the Nintendo 3DS remake that was released in 2010.
Dampé’s Shack was added for the 2019 Nintendo Switch remake of the game. This was in order to replace the Camera Shop which used the camera function of handheld consoles to print images. Though, there’s a lot more to this addition than that.
Surprisingly, the dungeon arranging mechanic was actually a huge driving force for the 2019 remake to happen in the first place. In an IGN interview with Eiji Aonuma, the producer of the 2019 remake, it was revealed that map-making and user-created content were something that Nintendo very much wanted to introduce into a lot of their classic franchises—including The Legend of Zelda.
Where to Find Every Heart Piece
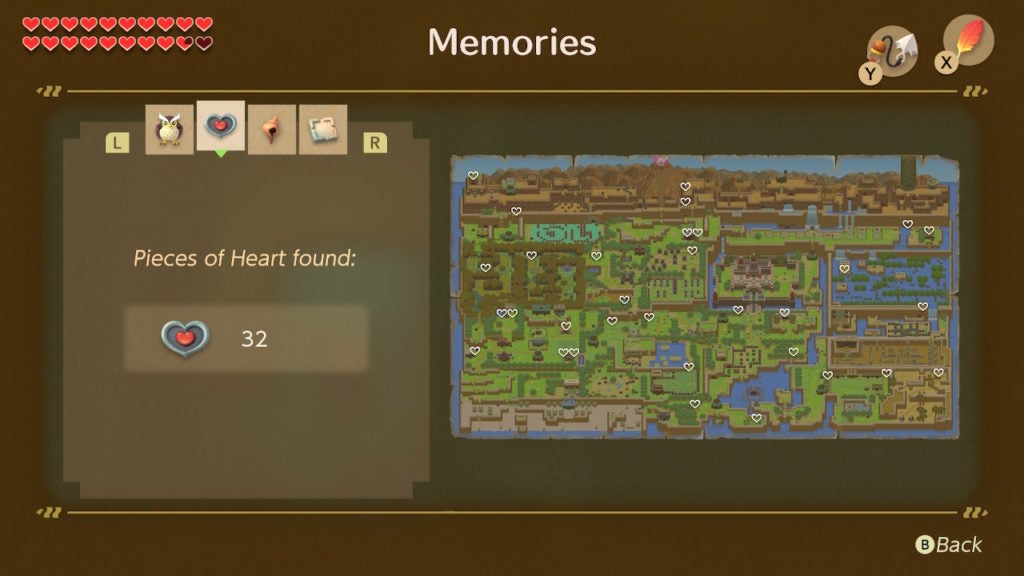
There are 32 Heart Pieces overall to find in the Nintendo Switch version of Link’s Awakening. They are distributed somewhat evenly across Koholint Island. However, each will need to be obtained in a different way. Here are all areas (in the rough order you’ll encounter them throughout the game) that contain Heart Pieces and how many:
- Mabe Village – 6 Heart Pieces
- Mysterious Forest – 2 Heart Pieces
- Koholint Prairie – 2 Heart Pieces
- Tabahl Wasteland – 1 Heart Piece
- Ukuku Prairie (including the Seashell Mansion) – 5 Heart Pieces
- Pothole Field – 1 Heart Piece
- Martha’s Bay – 2 Heart Pieces
- Animal Village – 2 Heart Pieces
- Yarna Desert – 1 Heart Piece
- Tal Tal Heights (including Dampé’s Shack) – 3 Heart Pieces
- Rapids Ride Area – 3 Heart Pieces
- Tal Tal Mountain Range – 4 Heart Pieces
Where to Find Every Secret Seashell
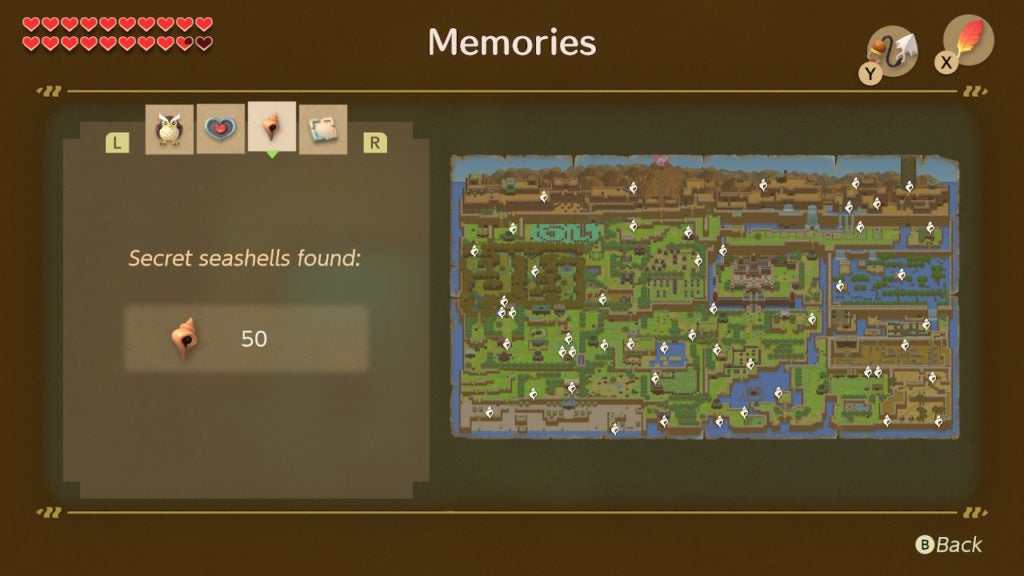
If you’re a completionist, you’ll want to gather all of the 50 Secret Seashells in this version of Link’s Awakening. You can get many of them from completing the various mini-games across Koholint Island.
However, many more are only found by exploring the world and uncovering them via digging and blowing things up with Bombs. Here are all areas (in the rough order you’ll encounter them throughout the game) that contain Secret Seashells and how many:
- Mabe Village – 6 Secret Seashells
- Toronbo Shores (including the area around Level 1 – Tail Cave) – 4 Secret Seashells
- Mysterious Forest – 3 Secret Seashells
- Koholint Prairie – 1 Secret Seashell
- Tabahl Wasteland – 1 Secret Seashell
- East of Goponga Swamp – 1 Secret Seashell
- Ukuku Prairie – 8 Secret Seashells
- Pothole Field – 1 Secret Seashell
- Martha’s Bay – 4 Secret Seashells
- Animal Village – 2 Secret Seashells
- Yarna Desert – 3 Secret Seashells
- Kanalet Castle – 1 Secret Seashell
- Tal Tal Heights (including around Dampé’s Shack) – 3 Secret Seashells
- Ancient Ruins (including just north of the Ancient Ruins) – 2 Secret Seashells
- Rapids Ride Area – 3 Secret Seashells
- Tal Tal Mountain Range – 7 Secret Seashells
What Secret Seashells Do
You can get rewards from the Seashell Mansion on the east side of Ukuku Prairie when you get various amounts of Secret Seashell. For every certain amount of Secret Seashells you collect, you’ll get different rewards. Here is everything you can get from the Seashell Mansion and how many Secret Seashells you’ll need for each reward:
- 5 Secret Seashells – 1 Heart Piece
- 15 Secret Seashells – the Seashell Sensor
- 30 Secret Seashells – 1 Chamber Stone
- 40 Secret Seashells – the Koholint Sword (Sword upgrade)
- 50 Secret Seashells – 1 Chamber Stone
Where to Go Next
After you’ve finished rounding up all the collectibles and upgrades, it’s time to head back to the entrance of the final dungeon. With all the powers you’ve gained through optional tasks, you’re now ready to face the trials of Level 8 – Turtle Rock.


