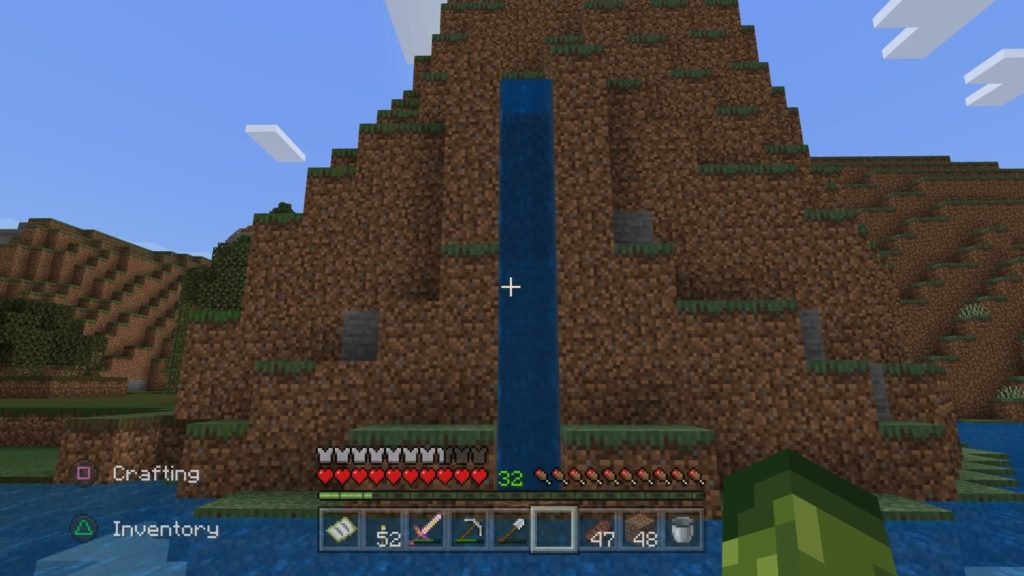
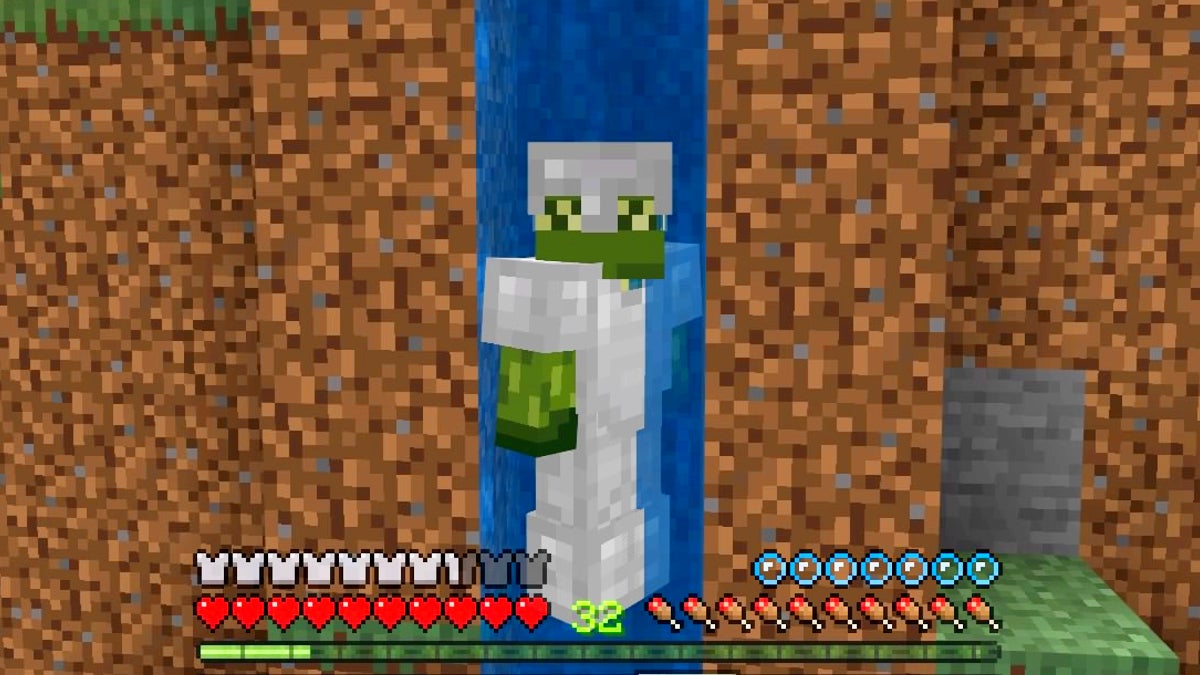
A water elevator is a type of simple Minecraft contraption that you can make from a few ingredients. You can use one to get up and down from places, making them great for vertical traveling.
Table Of Contents
What You Need to Make a Water Elevator

The first thing that you’ll need is at least 1 Bucket to make the columns of water you will be using to travel. You will also need 1 block of Soul Sand, as this block is what will allow you to ascend and breathe while in water.
How to Build a Water Elevator
Firstly, you’ll want to pick a spot for your water elevator. You will need at least 3 blocks of horizontal space to make a proper water elevator, so plot out your build location with a 1 by 3 line in mind. The center block of this plot is the separator between the 2 different columns of water–1 going up and 1 going down. Make a 1-block-deep hole for both columns of water so that flowing water doesn’t flood the area.
Next, head up to the place that will be the top of your water elevator. From here, dump out a Water Bucket for each column of water. It would be more efficient to use 2 Water Buckets, but 1 will work just fine if you don’t mind making a second trip to get some more water. Now, you’ll have 2 columns of water that travel down, so hop in one to go to the base of your water elevator.
Lastly, place 1 block of Soul Sand at the base of a water column of your choice. Just be sure to dig down 1 more block to place the Soul Sand so that you don’t fill up the original hole and flood the area with flowing water. However, after you do, you’ll notice a visual change in the water. Rising streams of bubbles will now appear in the water column with the Soul Sand. This uplifting stream is what will cause you to automatically move upward while in the water column. The bubbles will also allow you to breathe while in water, so you won’t need to worry about drowning.
How to Make a Water Bucket
To make a Water Bucket, simply use an empty Bucket on some water to scoop it up. You can make an empty Bucket from 3 Iron Ingots. All you have to do is arrange the Iron Ingots on a Crafting Table in a “V” shape.
How to Get Soul Sand
You can only get Soul Sand from the Nether. As such, this means you will need to make (or find) a Nether Portal first. Though, when you do, you should be able to find Soul Sand fairly easily. Soul Sand spawns in multiple Nether biomes and structures–here’s a breakdown of where:
- Soul Sand Valley biomes are primarily made of Soul Sand
- Nether Wastes biomes will occasionally generate with some Soul Sand
- Bastion Remnant Chests have a 22.8% chance to contain 2 to 7 Soul Sand blocks
- Nether Fortresses will have Soul Sand in Nether Wart rooms
- Piglins will sometimes trade you 2 to 8 Soul Sand at the cost of 1 Gold Ingot


