You will need to be affected by almost every status condition at once to get the “How Did We Get Here” Advancement in Minecraft. Although this will be difficult, it’s possible with a lot of preparation.
Table Of Contents
Every Required Status Condition to Get the Advancement
The 26 different status conditions that you need to get this Advancement are mostly gained through different ways. A lot of them can come from potions, but many cannot. Here are these status conditions as well as how to get them:
- Absorption – being affected by a Totem of Undying, eating a Golden Apple, or eating an Enchanted Golden Apple
- Bad Omen – defeating a Raid Captain
- Blindness – getting hit by an Illusioner attack or eating Suspicious Stew
- Conduit Power – being affected by a Conduit
- Dolphin’s Grace – swimming next to a Dolphin
- Fire Resistance – using a Potion of Fire Resistance, getting hit by an Arrow of Fire Resistance, being affected by a Totem of Undying, eating an Enchanted Golden Apple, or eating Suspicious Stew
- Glowing – getting hit by a Spectral Arrow
- Haste – being affected by a Beacon set to Haste
- Hero of the Village – defeating the final Illager of a raid
- Hunger – occurs when you have 1 or fewer food icons left on your Hunger meter
- Invisibility – using a Potion of Invisibility or getting shot by an Arrow of Invisibility
- Jump Boost – using a Potion of Leaping, getting shot by an Arrow of Leaping, being affected by a Beacon set to Jump Boost, or eating Suspicious Stew
- Levitation – getting hit by a Shulker attack
- Mining Fatigue – being passively affected by a nearby Elder Guardian
- Nausea – eating a Pufferfish
- Night Vision – using a Potion of Night Vision, being affected by a Conduit, or eating Suspicious Stew
- Poison – using a Potion of Poison, getting shot by an Arrow of Poison, eating a Poisonous Potato, eating a Pufferfish, eating Suspicious Stew, eating a Spider Eye, touching a Pufferfish, getting stung by a Bee, or getting bitten by a Cave Spider
- Regeneration – using a Potion of Regeneration, getting shot by an Arrow of Regeneration, being affected by a Beacon set to Regeneration, being affected by a Totem of Undying, eating a Golden Apple, eating an Enchanted Golden Apple, or eating Suspicious Stew
- Resistance – using a Potion of the Turtle Master, getting shot by an Arrow of the Turtle Master, being affected by a Beacon set to Resistance, or eating an Enchanted Golden Apple
- Slow Falling – using a Potion of Slow Falling or getting shot by an Arrow of Slow Falling
- Slowness – using a Potion of Slowness, using a Potion of the Turtle Master, getting shot by an Arrow of Slowness, or getting shot by an Arrow of the Turtle Master
- Speed – using a Potion of Swiftness, getting shot by an Arrow of Swiftness, or being affected by a Beacon set to Speed
- Strength – using a Potion of Strength, getting shot by an Arrow of Strength, or being affected by a Beacon set to Strength
- Water Breathing – using a Potion of Water Breathing, getting shot by an Arrow of Water Breathing, or wearing a Turtle Shell on your head while underwater
- Weakness – using a Potion of Weakness, getting shot by an Arrow of Weakness, or eating Suspicious Stew
- Wither – using a Potion of Decay, getting shot by an Arrow of Decay, getting hit by the wither skull attack of the Wither, getting hit by the melee attack of a Wither Skeleton, eating Suspicious Stew, or touching a Wither Rose
The Setup for Getting All Status Conditions at Once
The easiest way to set things up to get all of the required status conditions at the same time is to gather certain mobs and items. You will first need to find a suitable location. A great choice would be an island close to a Village. To gather all of the needed mobs, you can use Boats and Minecarts to trap them, Leads to pull them, and Rail tracks to transport them.
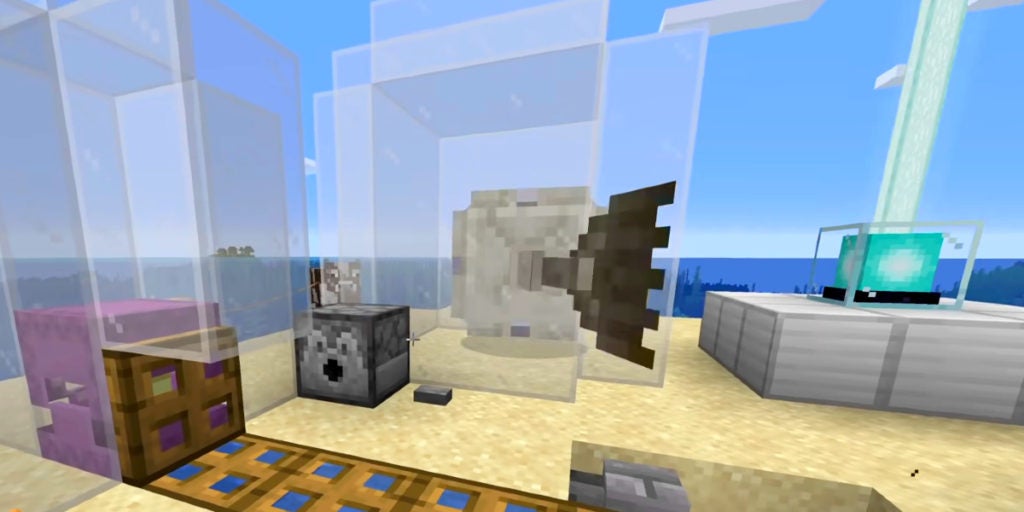
After transporting these mobs, you will need to contain them in some way. You will also need to place a few items nearby for their effects: a Beacon, a Conduit, and a Wither Rose. Furthermore, you’ll need 2 Dispensers to apply the effects of certain items.
Trapping a Shulker
You can only find Shulkers in End Cities, which will make things complicated. To get them into the overworld, you’ll have to place a Boat next to a Shulker and then push the Boat into them. This will cause the Shulker to get trapped in the Boat and allow you to move them around.
Once trapped, push the Boat through the nearest portal to get them into the overworld. Using a Rail system and a Minecart to transport and push the Shulker Boat towards the portal can be an easier method than pushing alone. After getting the Shulker to your island base, trap them in whatever way you like.
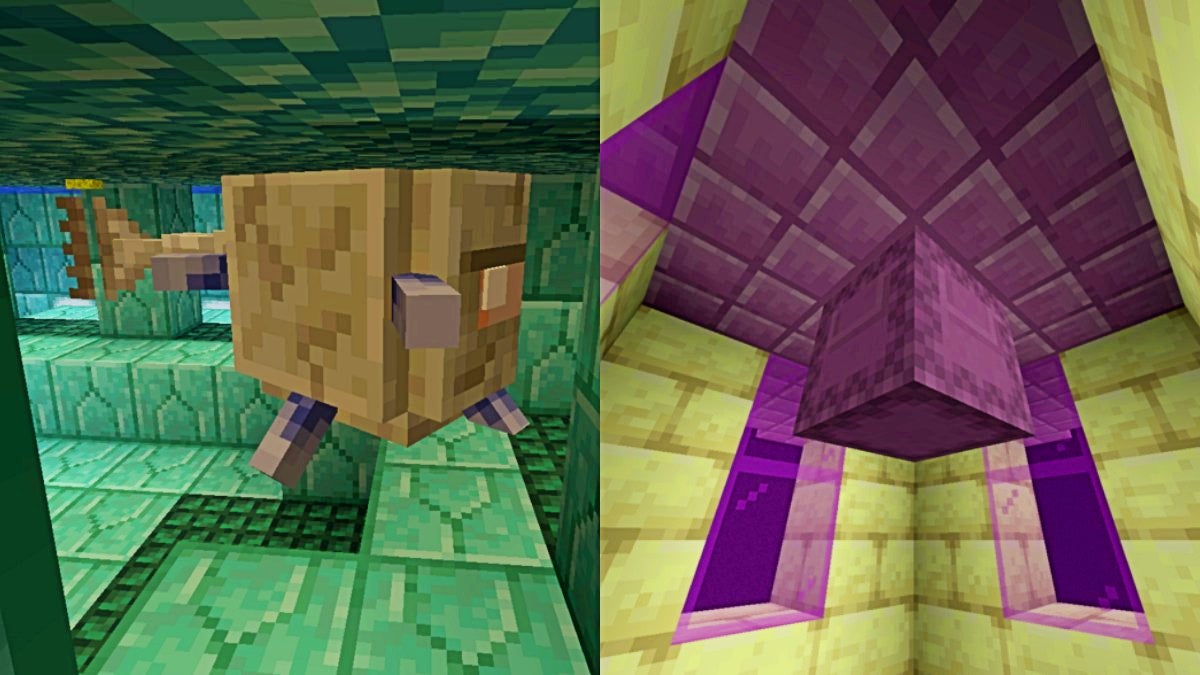
Trapping an Elder Guardian
These big mobs are only found in Ocean Monuments, which are pyramid-like structures located underwater. Getting an Elder Guardian all the way up to the surface and to your island base will be a long process. You should first set up a path of some sort with Rail, Powered Rail, and a Minecart that leads from the Ocean Monument to your island. As you do so, make sure to use Sponges to soak up water for fewer issues.
After that, find an Elder Guardian and hit them toward your transport system. Knock them into the Minecart and push them all the way to your island. When an Elder Guardian is out of the water, they will flop about. This will let you smack them around easier. Once the Elder Guardian is on your island base, trap them like how you did with the Shulker.
Trapping a Raid Captain
A Raid Captain is always a type of Illager that wears a Banner on their back. They can be a regular Illager, a Vindicator, or even an Evoker. The best place to find a Raid Captain is from an Illager patrol, during a raid, or at a Pillager Outpost. You can pull Raid Captains with a Lead and transport them with a Boat like with other mobs. Just keep in mind that they will keep attacking you as you transport them. Like with the other captured mobs, imprison the Raid Captain on your island base.
Trapping a Dolphin
You don’t actually need to trap a Dolphin like with the other mobs. From your island base, you should be able to find a Dolphin underwater somewhat close by. When you do, use a Lead on them and pull them to your island. After reaching your base, use the Lead on a Fencepost to tie the Dolphin in place. Be sure to put the Fencepost close to the water so that the Dolphin can stay submerged.
Getting a Conduit
Since the only way to get the Conduit Power effect is with a Conduit, you’ll have to make one. Firstly, put 1 Heart of the Sea on the centermost slot of a Crafting Table. Then, surround the Heart of the Sea with 8 Nautilus Shells.
The easiest way to find a Heart of the Sea is to feed a Dolphin 1 Raw Cod or 1 Raw Salmon. When you do so, the Dolphin will lead you to the closest buried treasure, Ocean Ruins, or Shipwreck that has a Heart of the Sea. As for Nautilus Shells, you can get them easily from Drowned mobs. These undead foes are pretty common underwater.
Getting a Beacon
To make a Beacon, you’ll need 5 Glass, 3 Obsidian, and 1 Nether Star. Glass is made from cooking Sand blocks in a Furnace, which will be the simplest step. To get Obsidian, you will have to either mine it with a Diamond Pickaxe or make it by getting flowing water to touch a lava source block.
As for the Nether Star, the only way to get one is to defeat the Wither. To summon the Wither, you will first need to make a T-shape out of 4 Soul Sand blocks. Then, place 3 Wither Skeleton Skulls on top of the upper Soul Sand blocks and the Wither will spawn immediately.
Wither Skeleton Skulls are a rare drop from Wither Skeletons, which can be found in Nether Fortresses. Soul Sand is also found in the Nether, albeit much more commonly. It can spawn in multiple biomes, though shows up the most in Soul Sand Valleys. After assembling the Beacon, set it to give off the Haste effect, as it is only obtainable from a Beacon.
Getting a Wither Rose
You’re only able to get a Wither Rose from mobs that have been killed by the Wither. This means that you will have to spawn the Wither near some mobs and hope they get caught in the crossfire of the battle. After you get a Wither Rose, place it next to the water where the Dolphin is located. The effect of the Wither Rose only lasts 2 seconds, so you’ll have to use it last to get this Advancement.
Applying Effects With Potions, Arrows, and Consumable Items
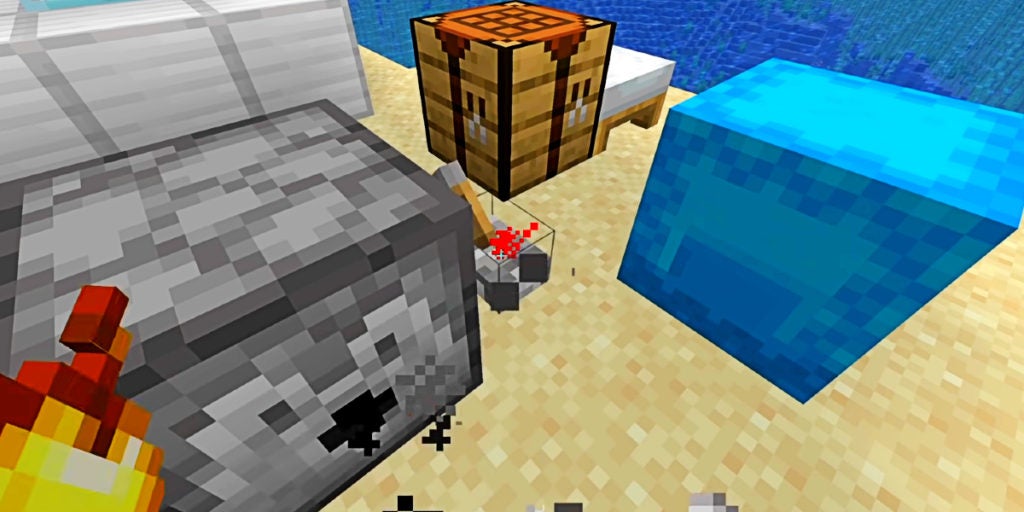
Besides the effects caused by the mobs, you will need to apply a few to yourself. The easiest way to do this is with a few potions, a Spectral Arrow, and some consumables. A bunch of the potions can be put into a Dispenser, which you can use on yourself with a Lever or Button. The same is true for the Spectral Arrow, though that will need its own Dispenser.
Here are the potions that you should put into the first Dispenser:
- Fire Resistance
- Invisibility
- Leaping
- Night Vision
- Slow Falling
- Strength
- Swiftness
- Water Breathing
- Weakness
These are the consumable items that you will need to eat:
- Golden Apple
- Potion of Regeneration
- Potion of the Turtle Master
- Pufferfish
- Suspicious Stew (crafted with an Azure Bluet Flower)
The Most Efficient Steps for Getting the Advancement
The easiest way to get all of the status effects at once is to apply them in the correct order. While the order itself doesn’t actually matter, certain effects last longer than others. This means that prioritizing which ones to get first will help in getting this Advancement. For easier tracking, each effect will be counted in brackets.
Step 1: Slay the Raid Captain and Complete a Raid
Firstly, you will need to take out the Raid Captain to get the Bad Omen effect [1]. Following this, go to any Village, which will start a raid as soon as you enter it. When you defeat the final Illager of the raid, you will get the Hero of the Village effect [2].
Step 2: Go Back to Your Island Base
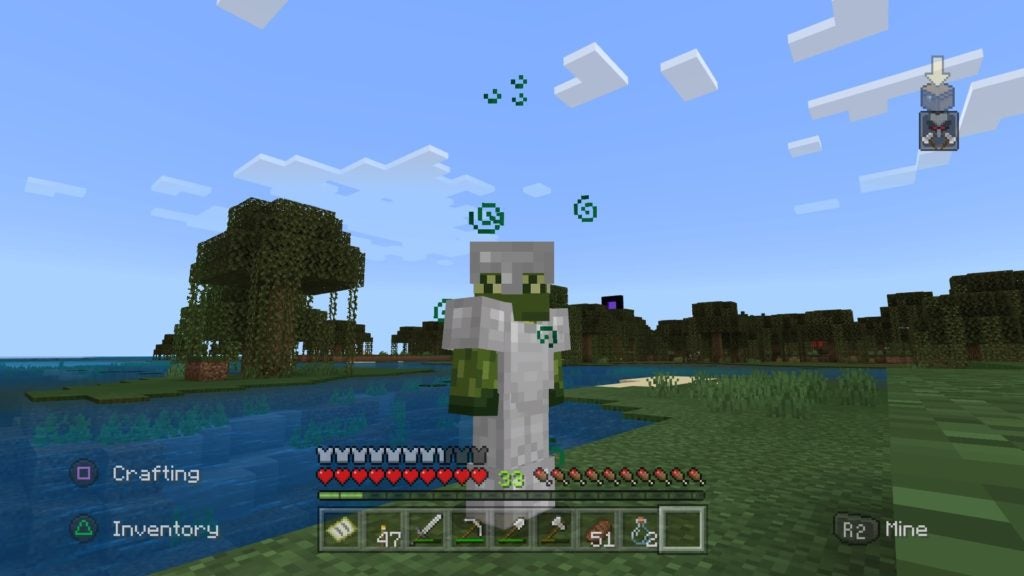
Run and swim back to your island while decreasing your Hunger meter to get the Hunger effect [3]. You will then pick up the effects of all the mobs and active items there. Here’s what effects you get and from which sources:
- The Elder Guardian will give you the Mining Fatigue effect [4]
- The Conduit will give you the Conduit Power effect [5]
- The Beacon will give you the Haste effect [6]
Step 3: Use the Dispenser Full of Potions
This is the point when you should use the Dispenser to hit yourself with the potions that you won’t be drinking. You will get the following effects from each:
- Fire Resistance [7] comes from the Potion of Fire Resistance
- Invisibility [8] comes from the Potion of Invisibility
- Leaping [9] comes from the Potion of Leaping
- Night Vision [10] comes from the Potion of Night Vision
- Slow Falling [11] comes from the Potion of Slow Falling
- Strength [12] comes from the Potion of Strength
- Speed [13] comes from the Potion of Swiftness
- Water Breathing [14] comes from the Potion of Water Breathing
- Weakness [15] comes from the Potion of Weakness
Step 4: Use the Consumable Items
Now, eat all of the consumable items mentioned before. Here’s what effect each one will give you:
- Drinking a Potion of Regeneration will give you the Regeneration effect [16]
- Drinking a Potion of the Turtle Master will give you the Resistance [17] and Slowness [18] effects
- Eating a Golden Apple will give you the Absorption effect [19]
- Eating a Pufferfish will give you the Nausea [20] and Poison [21] effects
- Drinking a Suspicious Stew made with an Azure Bluet Flower will give the Blindness effect [22]
Step 5: Get Hit By the Shulker and Spectral Arrow
After you have loaded up on potion and consumable effects, you’re ready for getting attacked. You will need to get hit by the Shulker to gain the Levitation effect [23]. Next, you’ll need to activate the second Dispenser with the Spectral Arrow in it. When you do, getting hit by the Spectral Arrow will give you the Glowing effect [24].
Step 6: Swim With the Dolphin and Touch the Wither Rose
In this last step, all that you’ll need to do is interact with the Dolphin and Wither Rose. Jump into the water and swim next to the Dolphin to gain the Dolphin’s Grace effect [25]. Finally, hop back onto land and touch the Wither Rose to get the Wither effect [26]. Shortly after this, you will get the pop-up for the “How Did We Get Here” Advancement.