Despite being made from simple components, Armor Stands in Minecraft can be a bit confusing to make at first. This is because you need a Smooth Stone Slab, which is different from a regular Stone Slab.
Table Of Contents
What You Need to Make an Armor Stand

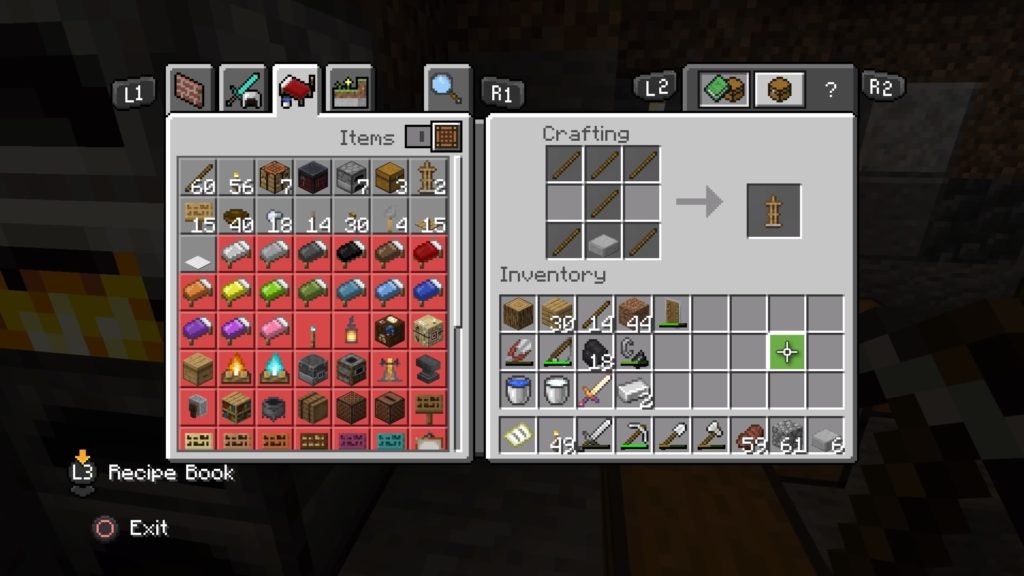
Despite there being more steps than expected, making an Armor Stand is relatively simple. You will need 5 Sticks and 1 Smooth Stone Slab. Put the slab on the middle slot of the bottom row of a Crafting Table. After that, put Sticks on every other slot except for the left and right slots of the middle row.
How to Get Sticks
You can make Sticks by placing 1 Wooden Plank on top of another while using any kind of crafting grid. It’s also possible for you to find Sticks as drops from broken Leaf blocks. Trees that have had their trunks harvested for Wood Logs will slowly despawn their Leaf blocks, which are left floating in the air.
How to Make a Smooth Stone Slab
Firstly, you’ll need to mine some Stone, which will give you Cobblestone unless you are using a tool with the Silk Touch enchantment. However, if you “cook” Cobblestone in a Furnace, you can turn it back into regular Stone. Though, we’re not ready to make slabs just yet.
After you make some Stone blocks, you’ll need to make them into Smooth Stone. To do so, simply put the Stone back into the Furnace to cook it some more. Make at least 3 blocks of Smooth Stone this way.
When you have enough Smooth Stone blocks, place at least 3 of them to fill any row on a Crafting Table. This recipe will give you 6 Smooth Stone Slabs. Alternatively, you can use a Stonecutter to turn individual blocks of Smooth Stone into 2 slabs each.
How to Use an Armor Stand

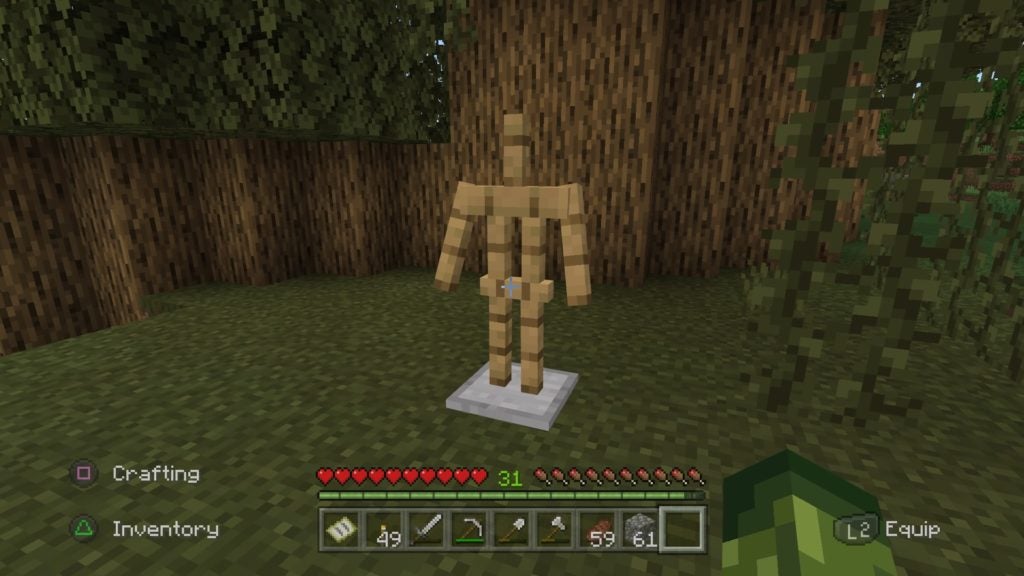
After you make your Armor Stand, hold it in your hand and then use it on the ground to place it. Don’t worry about the placement too much, as you can easily get the Armor Stand back. If you hit it twice with anything, even an open hand, it will drop itself as an item.
What You Can Put On an Armor Stand
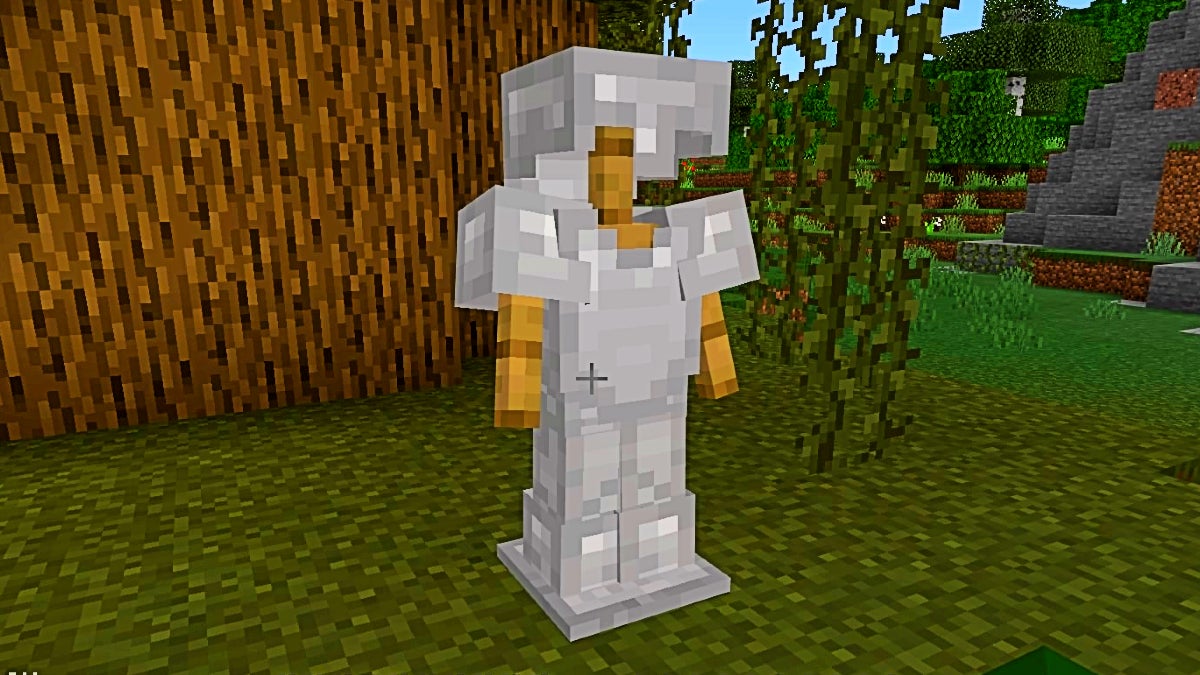
Most notably, you can put pieces of armor onto your Armor Stand. This includes Helmets, Chestpieces, Leggings, and Boots of any kind. You can equip the Armor Stand with pieces of armor by holding the item in your hand and then using it on the wooden mannequin. You can retrieve your individual pieces of armor by using an open hand on the bit of gear that you want to take back.
It’s also possible for you to put Mob Heads and Carved Pumpkins onto the helmet slot of an Armor Stand. This can make them good for decoration as well as for storage. You can even put Elytra onto an Armor Stand for an especially epic aesthetic.
Posing Armor Stands in the Bedrock Edition
In the Bedrock Edition of Minecraft, you can pose Armor Stands in a couple of different ways. The first way that you can change an Armor Stand’s pose is by crouching (sneaking) and then interacting with the Armor Stands. However, you can also use a Redstone signal to make an Armor Stand change its pose. There are 13 different poses that you can choose between manually and by Restone power.
Power in Minecraft works on a level between 0 and 15. For each different level of signal power between 0 to 12, the current will cause the Armor Stand to take a different pose. As such, with a more complex Redstone circuit, you can potentially set an Armor Stand up so that it cycles through different poses automatically.


